Showing posts with label cards. Show all posts

Monday, January 13, 2014

Western Baby Shower Invitations

My cousin is pregnant and due almost exactly 2 weeks before me.  This is her 3rd and her other 2 are already in school so quite an age gap between them.  I told her years ago if she ever decided to have a 3rd I wanted to be the one to do her baby shower.  Little did I know we both would wind up pregnant at exactly the same time.  I still offered to do her shower because I'm one of those crazy weird people that enjoys doing them.

She is having a boy and requested a western/country themed shower. As I usually do I scoured the internet for ideas and bounced back and forth on colors and images up until the holidays hit and then it all hit the back burner and now the shower is a week  away and I'm seriously needing to craft for this party.

The difference between this baby shower and the others I've done is 1. its right smack after Christmas which puts a kink in finances and 2. I'm having a baby too which puts a kink my energy to craft and throw such a party.  That being said I'm still excited to be doing it and have come up with some ways to make things easier and more cost effective for myself.


I chose blue and red for the colors.  I went back and forth on the this forever and it really was the most difficult part of the shower for me to nail down and make a decision.  There are so many color combinations I love but in the end I thought blue and red would be the easiest for me to find and match up in fabric, ribbon, and scrapbook paper.  I'm really trying to go for western simplicity with this shower, not only to make things a little easier for myself but also because I think a lot of times people (me included) can go overboard with decorations and such.  I tend to over think things and having the mentality of simplicity helps me keep things in check.


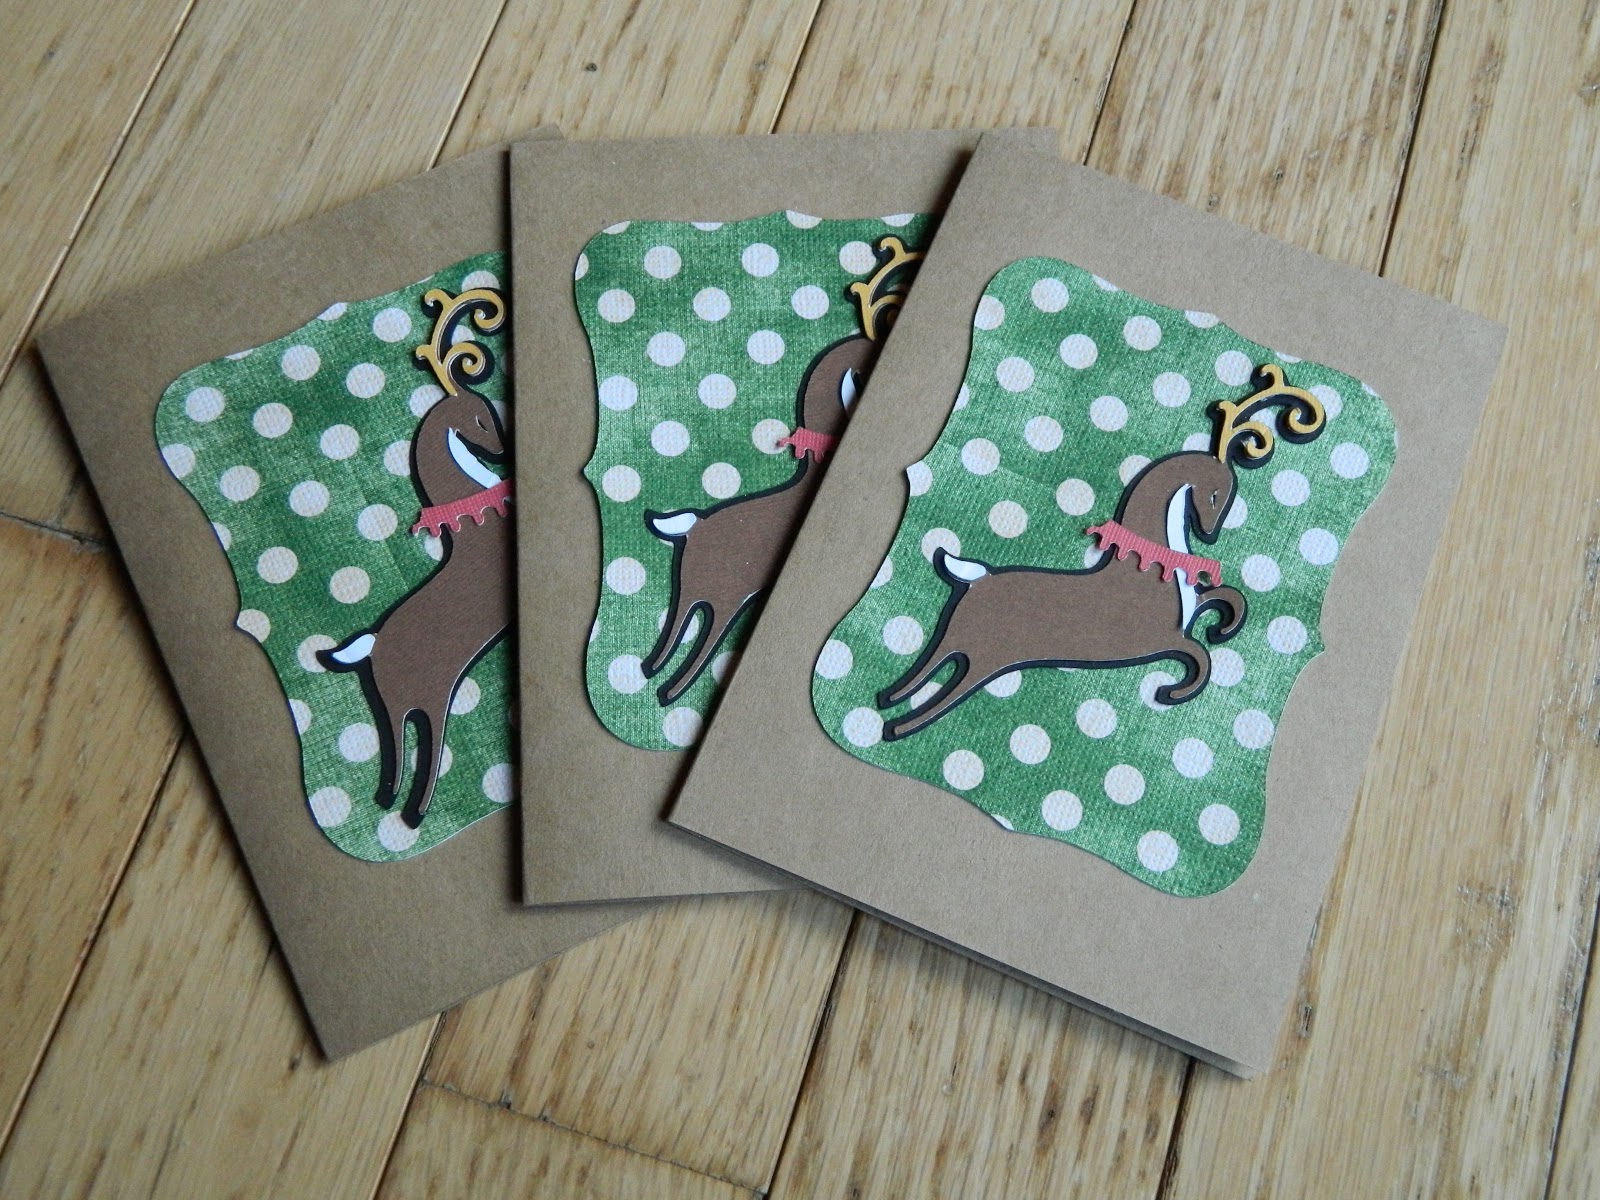
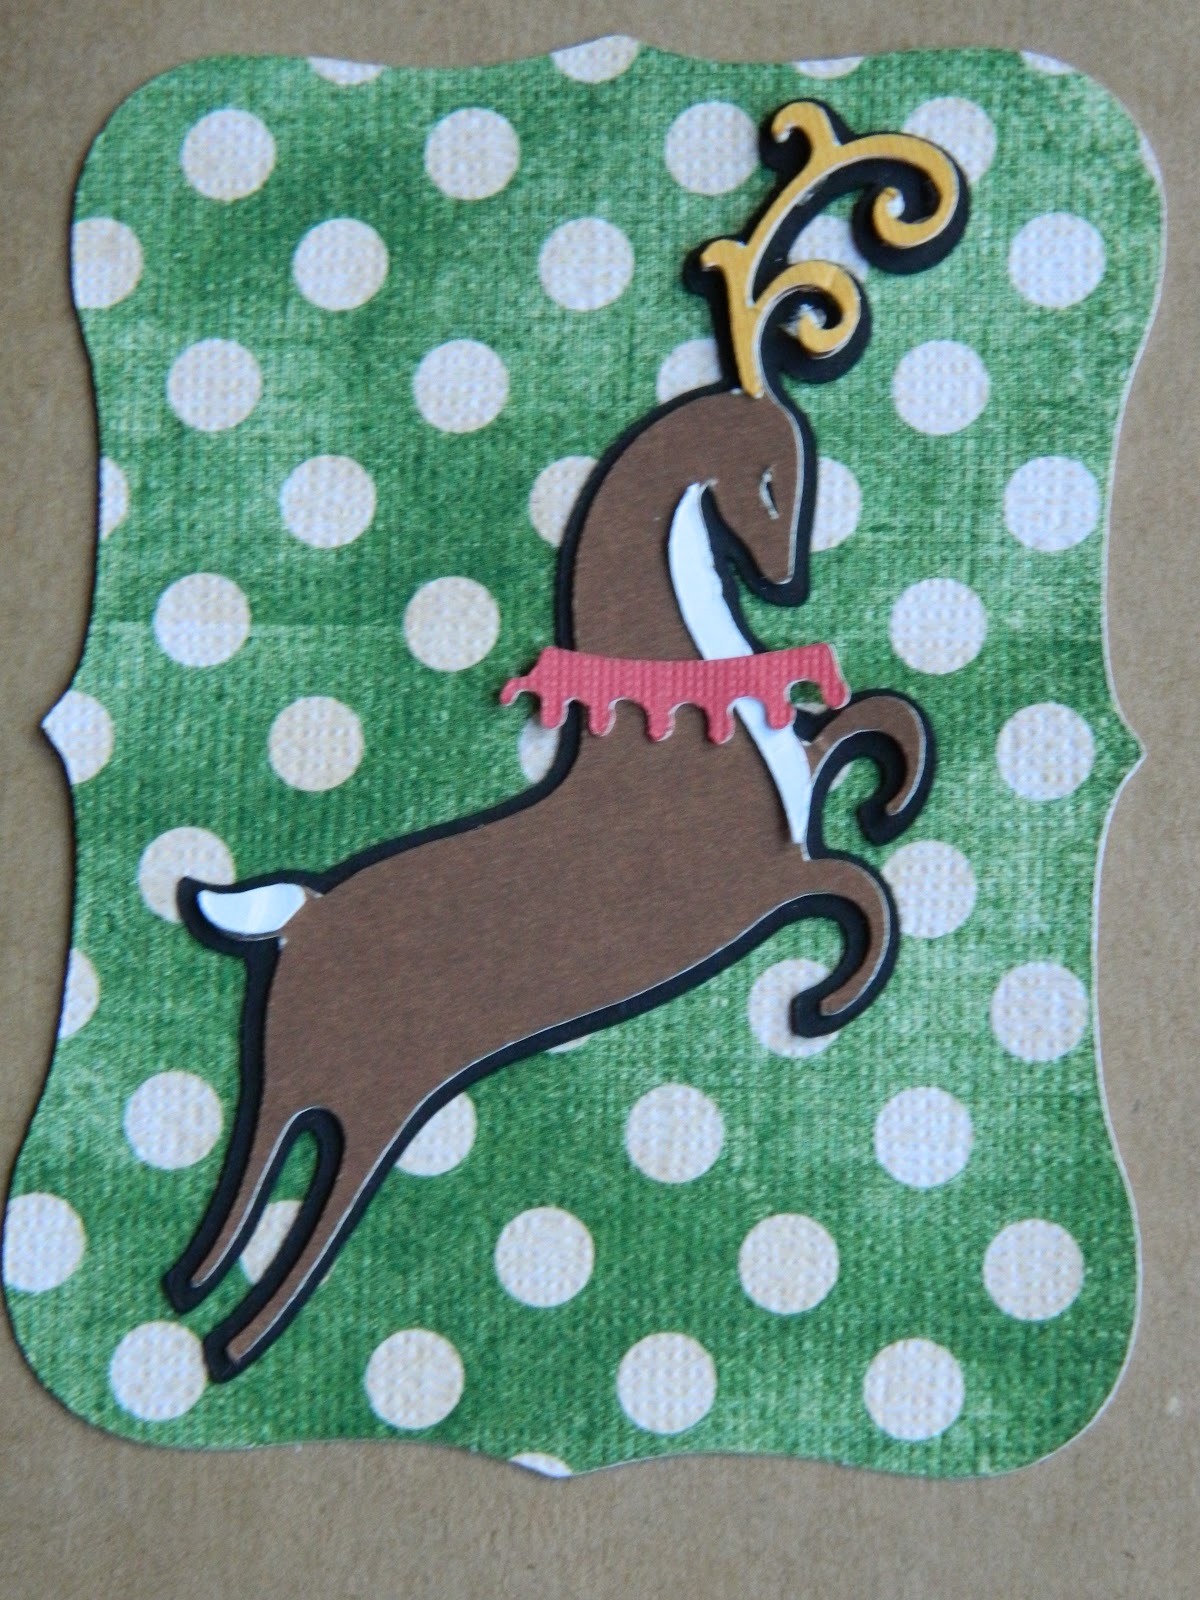
As always. I'm made the invites.  I figured out months ago what I wanted them to look like and used blank cards already in my stash.  I found the rocking horse image online, saved it into my images, opened it in Microsoft paint, then erased the wording and printed them in a Microsoft works word document. 


I used my cricut and the Accent Essentials cartridge to cut the images out into a circle shape, then cut another circle 1/4 inch larger circle in blue and red (because I ran out of blue paper) to go behind the rocking horse image and to add a little bit more color.  I had originally wanted 1/2 inch red gingham ribbon but I procrastinated, then a snow storm hit, then the flu hit, then Hobby Lobby was closed.  I ended up having to go to Joann's which of course they were out of the 1/2inch and I was forced to get the 1/4inch ribbon.  It still worked fine but I really wanted something a little wider.  Oh well, I guess no one else will know the difference.  I attached the ribbon, scrapbook paper circle, and rocking horse image with glue dots.


I have had this post ready for about a week now except for a photos but for whatever reason blogger isn't letting me upload my second one and I'm a little tired of trying.  So there is no photo of the inside of the invite. I printed the invitation info on white cardstock using font's from dafont.com.  I downloaded 2 different ones I thought looked western.  I used my cricut and the Don Juan cartridge to cut them out then used glue dots to stick them to the inside of the cards.


The inside read: A little cowboy is on the way
                           Let's celebrate before the big day
                           Join us for a baby shower honoring
                             (enter guest of honor name)
                             (enter party details of time, place, etc)


Other than the size of ribbon these turned out exactly as I wanted.  I was going for simplicity which I think I found and I'm so relieved they are finished and mailed. 


Now on to the other projects on my list.

Wednesday, November 13, 2013

Embroidered Christmas Card

Ok so actually this card isn't completely finished but I'm so excited with how the front has turned out with the embroidery that I had to share, I couldn't wait until it's finished.

I saw some embroidered Christmas cards when doing a google search awhile back.  I was trying to decide how to make my cards this year and couldn't quite figure anything out.  I saw the embroidered and thought they looked classic and simple but really wanted to use my Cricut like I did last year.  Last year I made reindeer, Christmas tree, and sleigh cards with my Cricut.  I just couldn't find anything that was working for me this year.  Every idea I had didn't turn out right after I cut the images and started laying them out.  Of course when I told my husband this his response was "why don't you just go to the store and buy them?", silly Derrick, he should know better right? haha

I searched for free embroidery patterns online and found these snowflakes.  They looked simple enough and I found this youtube video on embroidering cards.  Of course I didn't do it how they said to because I have to do things my way, but it still worked so I'm gonna say my way was the right way.

Here is my unfinished card:

Ok so I don't feel like I normally brag on myself but isn't this awesome!

I love it! So much so that I really don't want to give it away to anyone haha.  I don't have all the knots and strings covered on the inside and as you can tell there are no words yet on the front.  I can't decide what I want it to say and if I want to use my Cricut, computer, or embroider the words too. 

I have to say when I started poking the holes for the design and sewing my first few stitches I thought, "there's no way I'm gonna want to do this 10 more times, this takes forever."  But once it was finished I wanted to start on my next one immediately.  Of course it was almost midnight, so I refrained but I'm super excited about sending them and this makes me want to embroider other cards for Mother's Day and birthdays.

Wednesday, October 30, 2013

Gender Neutral Baby Shower Gift

I was invited to a baby shower over the weekend and the parents had decided not to find out the gender of their baby.  I'm not one to buy outfits as baby shower gifts, instead I like to buy/make the useful items I've heard others say are boring to shop for.  So I raided my fabric stash for anything I had that didn't scream boy or girl to whip up a quick couple of burp cloths and bibs.  I feel like every mom in the world should have burp cloths like these.  I have been making them since before Grant was born and I LOVE them.  They are all I used with Grant and all I plan on using with this next little one.  I didn't have spit up leak through them one time, and my little guy was quite the spit-upper (is that even a word?).
I used Grant's old bibs as a template for these.


I give these burp cloths to almost the mom of almost every baby shower I attend.  I get a little bored making the same things all the time but I just can't get away from them.  Every mom needs them and I hate to see them using the ugly old school flat fold diapers, or the super thin burp cloths you can buy in the stores.  So I break out the flannel and quilt batting and cut a few out knowing how useful they will be.

I added a couple bottles (using a buy one get one free coupon), baby spoons, and 2 boxes of baby cereal (I paid all of $0.08 for a few months back using coupons).  So I kind of went with a feeding item theme.  The total cost of the entire gift was under $6 and I'm pretty satisfied.  I know the new mom and dad will get plenty of use out of everything, and that's always my goal when baby shower gift shopping.

At the last minute I realized I didn't have a card, which happens to me a lot.  I tend to forget to include one and have the guest of honor who the gift is from, to which I have to shout over every one "that ones from me".  So I got out my Cricut and my Boys Will Be Boys Cricut Lite cartridge and made this:
 
I love the simplicity of it which is just what I look for in cards these days.  It took me all of 5 minutes to make this which made me really want to whip up a few extras for future showers, as it seems someone is always pregnant around here.  Maybe another day when I have nothing to do, cuz you know I have soooo much extra time on my hands these days...lol

Monday, December 10, 2012

Sleigh Christmas Cards

I made these cards using my Cricut and some cardstock. 

 
I used the Joys of the Season cartridge for the sleigh and holly leaves and Accent Essentials cartridge for the image behind the sleigh.  I used the same cardstock stack as I did with the reindeer cards I made last week.  I cut the Sleigh at 2 1/2inches and the background image at 3 inches using micro glue dots to attach everything.
 
As I was making these I messed up a few times, and verbalized my frustration to my husband to which his response was, "You know some people actually go to the store and buy their Christmas cards.  Just a thought."  Haha, you mean everyone doesn't hand craft their cards?
 

I could have done what most people do nowadays and trecked to Wally World's photo section, downloaded my favorite family pic and made a photo card, but what is the fun in that? My husband would tell me people will just end up throwing my beautiful hand crafted cards away when they take their tree down but for me there is something special about cards made by someone, and I make them because it makes me happy and that's a good enough reason for me!


Friday, November 30, 2012

Handmade Christmas Cards

I've been wanting to make Christmas cards since I got my first Cricut and for whatever reason it has taken me about 2 years to actually get around to it.  I looked online for inspiration, gathered a few ideas and came up with this:

 
With everything I do this year from the wrapping paper, to the gifts, to the cards, I'm trying to go simple and classic.  I think Christmas has gotten out of hand in alot of respects and I think there is something to be said for simplicity around the holiday season.  I think these cards hit the mark.  I debated on whether or not to put Merry Christmas or Happy Holidays on the front but nixed the idea since I always write personal messages on the inside and lets face it, everyone will know this is a Christmas card regardless if it says Merry Christmas or not.

Now, on to how I made them.  I bought the cards with envelopes from Hobby Lobby (I'm really into rustic country/primitive looking stuff right now which is why I chose the brown) they were a package of 50 for $6.99, and I of course used a 40% off coupon.  The green/white polka dot paper I purchased in a Christmas stack of cardstock at Hobby Lobby as well. I used my Cricut and the Joys of the Season cartridge to cut out the reindeer at 3 inches, and Accent Essentials cartridge to cut out the green/white polka dot image behind the reindeer at 3 inches too.  I attached everything with micro sized glue dots.

 
I have to say for my first attempt at Christmas cards I'm really really pleased with how they turned out.
 
Whenever I start a project with my cricut I almost always google ideas whether it be Christmas cards or birthday invites and let me tell ya there are some amazingly talented cricut users out there.  I usually end up getting more discouraged the more ideas I see because some of them seem so intricate and time consuming, I figure there's no way to make them and have them turn out well.  That being said, what I try to stick to and my piece of advice is to keep it simple, at least to start with.  If you start simple you can always add ribbon, buttons, glitter, or words.  By starting with a simple design or idea first it makes the task less daunting and keeps you from getting discouraged.  So if you, like me, have been wanting to make your Christmas cards this year go ahead and bust out the Cricut and get crafting.

Tuesday, February 15, 2011

Valentine's Card

I had planned on posting my Valentine projects yesterday but as I logged into my computer and started typing my posts my internet connection went out and then my son got his 15 minute power nap and started screaming with a tummy ache, so much for me getting my post done.  So it's a day late but better late than not at all right?

I used to be a Hallmark card girl.  I worked there in high school and loved it and since then I had been buying all my holiday and birthday cards there.  Yes I have probably spent a small fortune in cards from that store.  While I still love Hallmark, when I bought my Cricut I was telling my husband all that I could make with it, cards being one of those things, and now I just can't bring myself to spend $3-$5 a card when I can make them for free.

So here's the card I made my husband this year.


Here's what you will need to make this card, just in case there is anyone out there wanting to know.  I used a blank plain black card, thin red ribbon, the word love cut with my Cricut and my aqua glue.


 Here's a close up of the love word I cut out.  It has a red shadow and the white over top.

Add the ribbon to the front of the card overlapping to the inside.  I put a dot of glue on both ends and in the middle on the front to make sure the ribbon didn't move out of place.  Then glued Love to the front at an angle and viola, done. 


I like to keep my cards simple, you could easily dress this card up a little more.  My husband couldn't care less about little jewels and such on his cards.  Actually he could probably care less about cards in general but I like to write words of love to him every now and again.

LinkWithin

Related Posts Plugin for WordPress, Blogger...

Total Pageviews