Showing posts with label Mickey Mouse Birthday. Show all posts

Wednesday, October 31, 2012

Mickey Birthday Shirt

The one picture I didn't get throughout the party was a good one of Grant's shirt.   My mom found this white shirt for $1 (SCORE!).  I printed Grant's name in Mickey font I downloaded from dafont.com, slipped it under the front of his shirt and traced the letters with a water soluble quilting pen.  Then I just embroidered the letters.


I didn't have any black fabric and rather than go buy some I decided to be really thrifty and use one of the old t-shirts we had in our give away pile.  I used the Mickey head image from my Cricut to make the head.  I backed it with heat and bond and stitched it with my sewing machine.  I printed the 2 in Mickey font then traced it with the water soluble pen and cut it out of red fabric I already had in my stash.  I backed it with heat and bond, ironed it on, and hand stitched it to the shirt.

 
I had intended for the shirt to be a lot more detailed and a lot  more colorful but time constraints (since I actually forgot about finishing the shirt until the day before the party) forced me to make it a little more simple.  However I'm really happy with the simplicity of it.  Grant kept trying to look at the back of his shirt to see Mickey while it was on him, too cute!

Tuesday, October 30, 2012

Mickey Mouse Clubhouse 2nd Birthday!

My son's birthday party was this weekend.  Normally once a party or shower is over I feel relieved to have it behind me and start crafting for the next one but I'm really sad his 2nd birthday is over.  I was looking back on pictures of my little guy from his first year and started tearing up.  It seems like forever ago since he was born and yet like it was just yesterday at the same time.

We did a Mickey Mouse Clubhouse theme this year and I set a challenge for myself.  To have a birthday party with food, cake, favors, and decorations with a budget set at $50.  Why did I do this you ask,  it seems everything nowadays is getting bigger and bigger, that includes birthdays.  I've seen some on tv, talked to friends and family members as they have been in the midst of party planning and i've heard mentions of decorations alone costing over $60, cakes $80 or more and entire parties costing in the hundreds, my mouth hits the floor every time.  If there is one thing I want to teach my son as he grows up it's to appreciate simplicity and the value of a dollar.  I could have spent more than the $50 I alotted myself but why?  If I can get the party I want for Grant and have all the things I know he will love, why spend a fortune that could be put towards something else for him. 

For food we had a hot dog bar complete with all kinds of toppings for hot dogs, cheese puffs, pretzels, potato wedges,deviled eggs, bacon ranch pasta salad, coleslaw, iced sugar cookies, and chocolate peanut butter cupcakes I made myself.  Most of these items were purchased over the last couple months with coupons.  For example the hot dogs cost all of $0.17/package, the ranch dressing for the pasta salad was $0.39, and the sugar cookies were made from a Betty Crocker sugar cookie pouch I got for free.  I am so proud of the party I was able to put together for the small budget I set for myself and I can honestly say there was nothing I was wishing I had bought or done differently.

Now onto the party.....

 
Centerpiece #1: All the images were cut with my cricut and attached to kabob skewers with tape.If you don't have a cricut you could easily print similar images off the internet and cut around them.  The bottom is just a wide drinking glass I stuffed 2 sheets of tissue paper down in and then wrapped it with another piece putting a rubber band around the top to hold it in place.
 
Centerpiece #2: The table runner under this centerpiece runs the lengths of the bar and is just strips of crepe paper streamers sewed together.  If you don't have a sewing machine you could easily tape them together on the bottom and get the same effect.  I cut 1 1/2inch black mickey heads to scatter around the table runner and act as confetti, these were also cut using my cricut.
 
 
I loved this cupcake stand and the cupcakes on it.  The stand is 3 boxes (a Special K granola bar box, shipping box, and the lid of a copy paper box) wrapped in red wrapping paper from the dollar store and stacked on top of each other.   One thing I learned with the small budget challenge was to use what you have and make it work.  This cupcake stand is a perfect example of that. The black Mickey images were cut with my Cricut using the Mickey and Friends cartridge.  I made the cupcake toppers myself using red chocolate from Hobby Lobby and a Wilton squeeze bottle.  I piped them with the squeeze bottle onto wax paper, put them in the fridge for about 10 minutes then popped them off and put them on the cupcakes with the flat side facing out.


I used some items we already had to decorate like the stuffed Mickey and the frames that held Grants 2 year pictures and subway art. 2 board books I found at the Target dollar spot are placed on either side of Mickey.
I made the birthday banner out of cardstock and fabric.  I cut the cardstock pennants with my cricut as well as the letters.  Using those as a guide I drew a template for the larger fabric pennants to go behind them.  I used glue dots to attach the letters to the cardstock and I stitched the cardstock to the fabric.  I then made my own bias tape to attach them all at the top and stitched it as well.  I was so excited with how this banner turned out and how well it went with the party without screaming "Mickey Mouse".

I made the character images with my cricut. I adored the mickey/circle garland.  I used primary colored cardstock, cut the Mickey heads and circles out with my cricut them stitched them together.  The effect was perfect and Grant loved them.  I can say the only thing I hate about making homemade decorations is I can't bear to throw away all my super cute hard work haha.
 
I purchased this blue bucket at the Dollar Tree for the ice and water bottles.  I showed the water bottle labels I made here.  I don't buy a bunch of 2 liters of sodas any more because the cost tends to add up & in the end your left with half a dozen 2 liters 1/2 full, and they end up going to waste.  Instead I have started making a large pitcher of homemade strawberry lemonade and sweet tea.  I figure anyone who doesn't like either of those can choose the bottled water.
 
 
I used the Mickey/circle garland I made out of cardstock to drape each of the windows.  After draping them I felt they were too plain and I immediately thought of window clings.  I used to love those when I was a kid.  I used my cricut and cut Mickey heads in 7 1/2 inches and 4 1/2 inches and stuck them to the windows.  Grant kept walking over to the windows and pointing saying "Mi, Mi" (Mickey).  After the party I took all the small colored ones and stuck them on the wall next to my son's bed, he loved it.


I was trying to get a better view of the table runner I made with crepe paper streamers and confetti in the picture above.  We also used water bottles as balloon weights.  I forgot to tell my husband to get weights when he went to pick them up so we improvised.
 
 For a game we had Mickey Mouse bowling I made with empty soup cans and cardstock.  Grant loved stacking them up and throwing the ball to knock them all down.  He hasn't quite gotten the hang of rolling the ball.
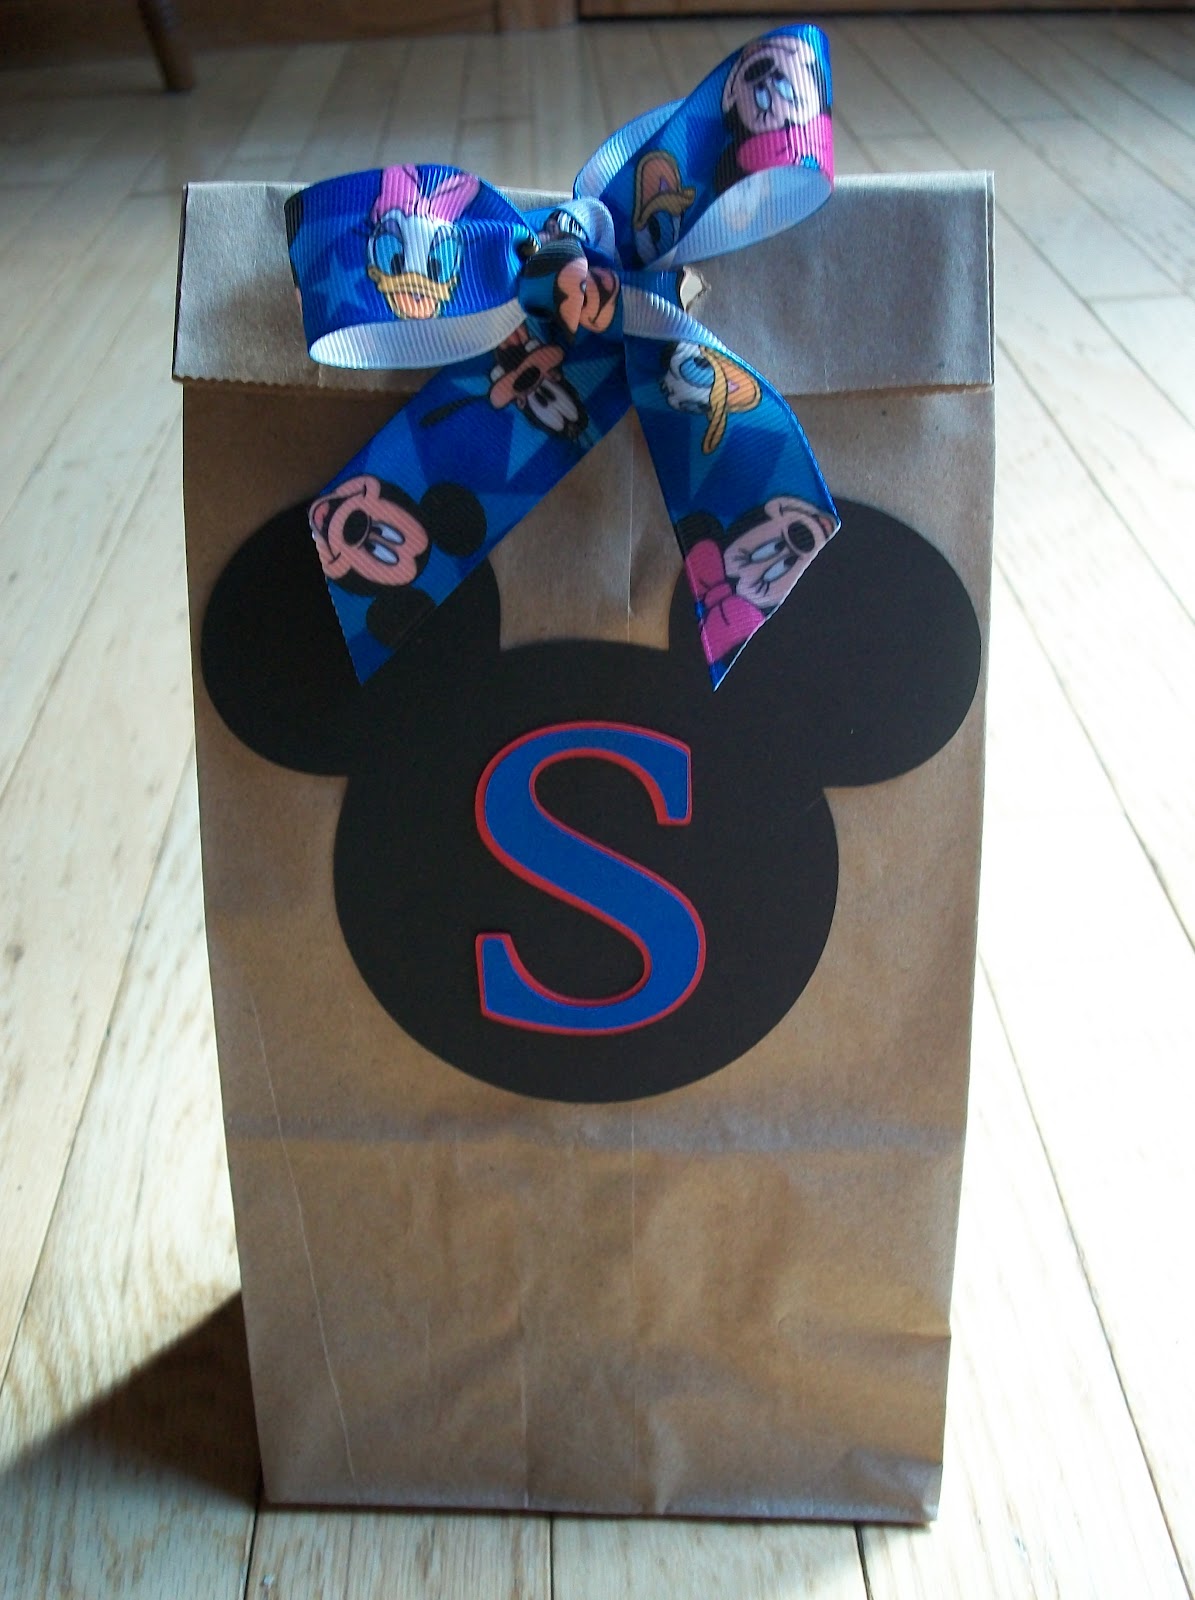
 
I made treat bags for the 2 little guests we had.  I debated for a long time on what to put in them and eventually decided to put in Grant's favorite goodies.  So inside were fruit snacks, lucky charms breakfast bar, homemade tootsie rolls, and a Minnie Mouse board book (because both were girls).
 
 
I posted about the Invites here.
 
I had so much fun planning, preparing, and putting together this birthday and I couldn't be happier with the results.  Grant had a great time with people he loves celebrating his 2nd year and that's the important thing.
 
Happy Birthday My Little Man!


Friday, October 19, 2012

Mickey Mouse Clubhouse Birthday Invite


I have been in birthday crafting mode all week.  I have quite a to-do list but I am determined not to have a repeat of last year, which consisted of me being up until 3am decorating.  I have no desire to do that this year.  So I have quite a few posts coming up full of birthday goodies.  The first being his invitations.  I've had it in my mind how I wanted to do his invites for a while and for whatever reason the procrastinator came out in me and I just got them finished.  I was very thankful I didn't have dozens to do because they took a bit of time.

I used my cricut to cut the Mickey head and attached it to the wrap with glue dots.  To make the wrap I had to measure each of the invites (because I wasn't smart enough to cut them all the same size) and added 1/2 inch seam allowance. 

 
On the invite itself I downloaded the Mickey image from the internet and just created the rest in a word document and printed it on white cardstock.  I stitched the white part of the invite to the colored cardstock, 1. because I didn't want to use any more of my glue dots, and 2. because I thought it would add something different to the invitation.

 
Because these weren't standard sized invitations I ended up having to make custom envelopes.  They weren't difficult, just a little time consuming.  I used a letter scorer (is that what they are called?), you can see it in the right of the photo below.  It came with my cricut supplies, maybe it's a bone folder, either way, doesn't matter.  I put the invite in the middle of my 12x12 cardstock, used a ruler and scored it so it would fold nicely.
 
 
As you can see above I cut the corners out so it would all fit together like an envelope.  Fold in the right and left sides, and fold the bottom up attaching it to the sides with glue dots.
 
 
Then put your invite in and use another glue dot to close the top flap.
 
I'm so thrilled with how they turned out and even more thrilled they are finished.  It feels good to be able to check some projects off my list.


Wednesday, September 26, 2012

Mickey Mouse Treat Bags & Food Signs

I made these treat bags for Grant's birthday party.  There will only be 2 other kids there, both girls, and both of their names start with an "S".

I used my cricut and the Mickey and Friends cartridge for the Mickey heads, and the Plantin Schoolbook cartridge for the letters.  I cut the Mickey heads at 4 inches and the letters at 2 1/2 inches.

 
I used micro glue dots to attach the pieces, folded the top over once, punched 2 holes and threaded the Mickey ribbon through for the finishing touch.

 
I love how they turned out and I'm so happy I finished them.
 
 
None of the food I'm having really needs a label but I think it's a cute way to further the theme.  I downloaded a Disney font from dafont.com and found the character images on google and just saved them to my computer.  I used Microsoft Works Word processor and then just printed them on cardstock, cut them out, and glued them to colored cardstock.
 

Thursday, August 23, 2012

Mickey Birthday Bowling

I finished the bowling game I have planned for Grant's birthday.  I went back and forth on how I wanted to do it, what I wanted to use, etc.  Originally I saw toilet paper bowling over at Oopsey Daisy and thought for sure that's what I wanted to do.  However when I set my party budget at $50 (that includes food, drinks, favors, and decorations) I started trying to find ways to use things I already had around the house because any time you have a small budget, every dollar counts.  That's when I thought of using veggie cans.

So after a few dinners I collected 6 veggie cans, took the lids off with a can opener and put masking tape over the rim in case of sharp edges.

 
I bought a package of primary colored cardstock at Hobby Lobby to use for multiple decorations throughout the party.  I picked yellow, red, and blue and wrapped the cans with them sealing them with glue dots. 
 
 
Of course I had to tie in Mickey so I decided to use my Cricut and my Mickey and Friends cartridge to cut out a black Mickey head.
 
(After taking the above pic I decided to put the can opening down so I switched the Mickey around)
 
Just a plain Mickey head wasn't enough so I added the number 2 to each of the cans.
 
 
I personally think they are too cute! Grant kept wanting to knock them over while I was trying to get pics of them to post, so even if they don't actually "bowl" with them I know they will at least knock 'em over and stack 'em up.


Monday, August 20, 2012

Mickey Mouse Clubhouse Subway Art

I saw birthday subway art here at Oopsey Daisy and thought it would be too cute to make one for my little guy's party.


At the very bottom is his birthday.  I downloaded the Mickey, Minnie, and Waltograph fonts from dafont.com.  I made my art in a Microsoft Works Word document by creating txt boxes of varied sizes.  It's pretty simple but I think it will look cute as part of the decorations on the gift table. 

Thursday, August 16, 2012

Mickey Mouse Clubhouse Water Bottle Labels

Last year for Grant's birthday I created these water bottle labels.  While I thought they turned out really cute, they were alot of cutting and glueing and I decided this year I didn't want to put up with all that.  So I'm keeping it a little more simple and classic.


I made each label with a different character because it's easy to get lost and only feature Mickey Mouse.  The more characters you showcase the more colors you will tie in.  I found all the character images using google searches and copying and pasting them into a word document.

Our party this year will consist of a family dinner, nothing too big, under 20 people but even still I have all the elements I want.  I love water bottle labels and they have become a staple at every party I've had since my wedding.  They are a cute, simple and inexpensive way to add a personal touch to any party.  Not to mention I don't like providing a bunch of 2 liters of sodas because the cost can add up quickly and we don't let Grant have soda yet.  I figure if it's his birthday why should we have a drink he can't even have.  So instead I plan on having homemade lemonade, sweet tea, and anyone who doesn't like either of those can have the water (but I don't know how anyone could not like my homemade lemonade).

Saturday, August 11, 2012

Mickey Mouse Birthday Beginnings

I have been working on Grant's birthday decorations.  This year we are having a Mickey Mouse Clubhouse theme, both Grant and my neice love the Hot Dog dance.  My mom happened to find the Mickey and Friends Cricut cartridge last year for $13 on clearance so I'm using it for the decorations.
Here are the characters I've finished so far:

I also have Mickey, Minnie, and Goofy but I am lacking 1 color of cardstock to finish them.  As of now these character cut outs will be used to decorate for the bean bag toss.  Can we take a moment and say how much I love my Cricut.  It makes creating birthday decor so much easier and cuter than I could create by myself.

I used the Calligraphy cartidge to make the penants for his banner.  I made mine 7 inches.  The letters are from the Plantin Schoolbook cartridge and they are each 2 inches.  I have striped fabric that has all the primary colors I'm going to back each of the penants with but I haven't gotten them sewed yet.


His invitations are simple yet I think they are so darn cute! I looked all over the internet for invite ideas and saw some really cute ones I was going to copy, then decided to do something of my own. 

I'm going to use the invitation above and make an invite wrap to jazz it up a bit.  I bought a yard of striped fabric that incorporates all the colors I'm using for the party.  It will be used in the banner but I'm also going to create a wrap about 2 inches wide to go around the center of the invite (big enough to cover mickey, small enough you will be able to read the first 2 lines).  On top of this I want to layer a red smaller cardstock wrap with a black mickey head in the center with a 2 on top of that.  Does any of that make sense?  I'm super excited to get these decorations started and hope my steam doesn't run out before everything is finished.

What else is on my birthday to-do list?  Water bottle labels, bowling and bean bag toss games, lollipop tree, favor bags, cupcake stands, birthday shirt, and centerpieces.  My list isn't very long this year.  After the late nights I had preparing for Grant's Toy Story birthday last year I learned alot about time management, along with how to make things easier on myself.

Stay tuned over the next 2 months for more Mickey Mouse Clubhouse birthday tid bits.


LinkWithin

Related Posts Plugin for WordPress, Blogger...

Total Pageviews