Each time I do the labels I end up finding another way to make them. So here is how I made Grant's birthday labels:
1st I typed the wording I wanted in a word document and spaced the Happy Birthday and the Grant is 1! as far apart as I could and still have them on the same line, then copied and pasted a few more on the page with enough room in between to cut. I printed them on white cardstock I bought at Walmart for $5.96 for 150 sheets
Then I took a label off the water bottle I intended to use keeping as much of it intact as possible to use as a template. I positioned the label wear I wanted it over top of the wording and made small marks to indicate where the top and bottom of the label would need to be cut (if you look close you can see these dashes on the right hand side of the cardstock page).

Now use your paper cutter, any paper cutter will do, and cut straight across where you made the dashes.

You will end up with a bunch of these:

Are you getting excited! I love this part of crafting, when the first part of your project is done and you get a little sneak of what its going to end up looking like. Haha I think only fellow crafters would understand that comment.
Anyways...
I found a picture online of Buzz and Woody I liked, copied it into my pictures file, then copied it into a word document, sized it to 1 inch and put multiple on one page, leaving enough room between them to cut them into circles.

Here is where my beloved Cricut comes in, can I say how much I love my Cricut, I love it I love it I love it.
Ok back to water bottle labels.
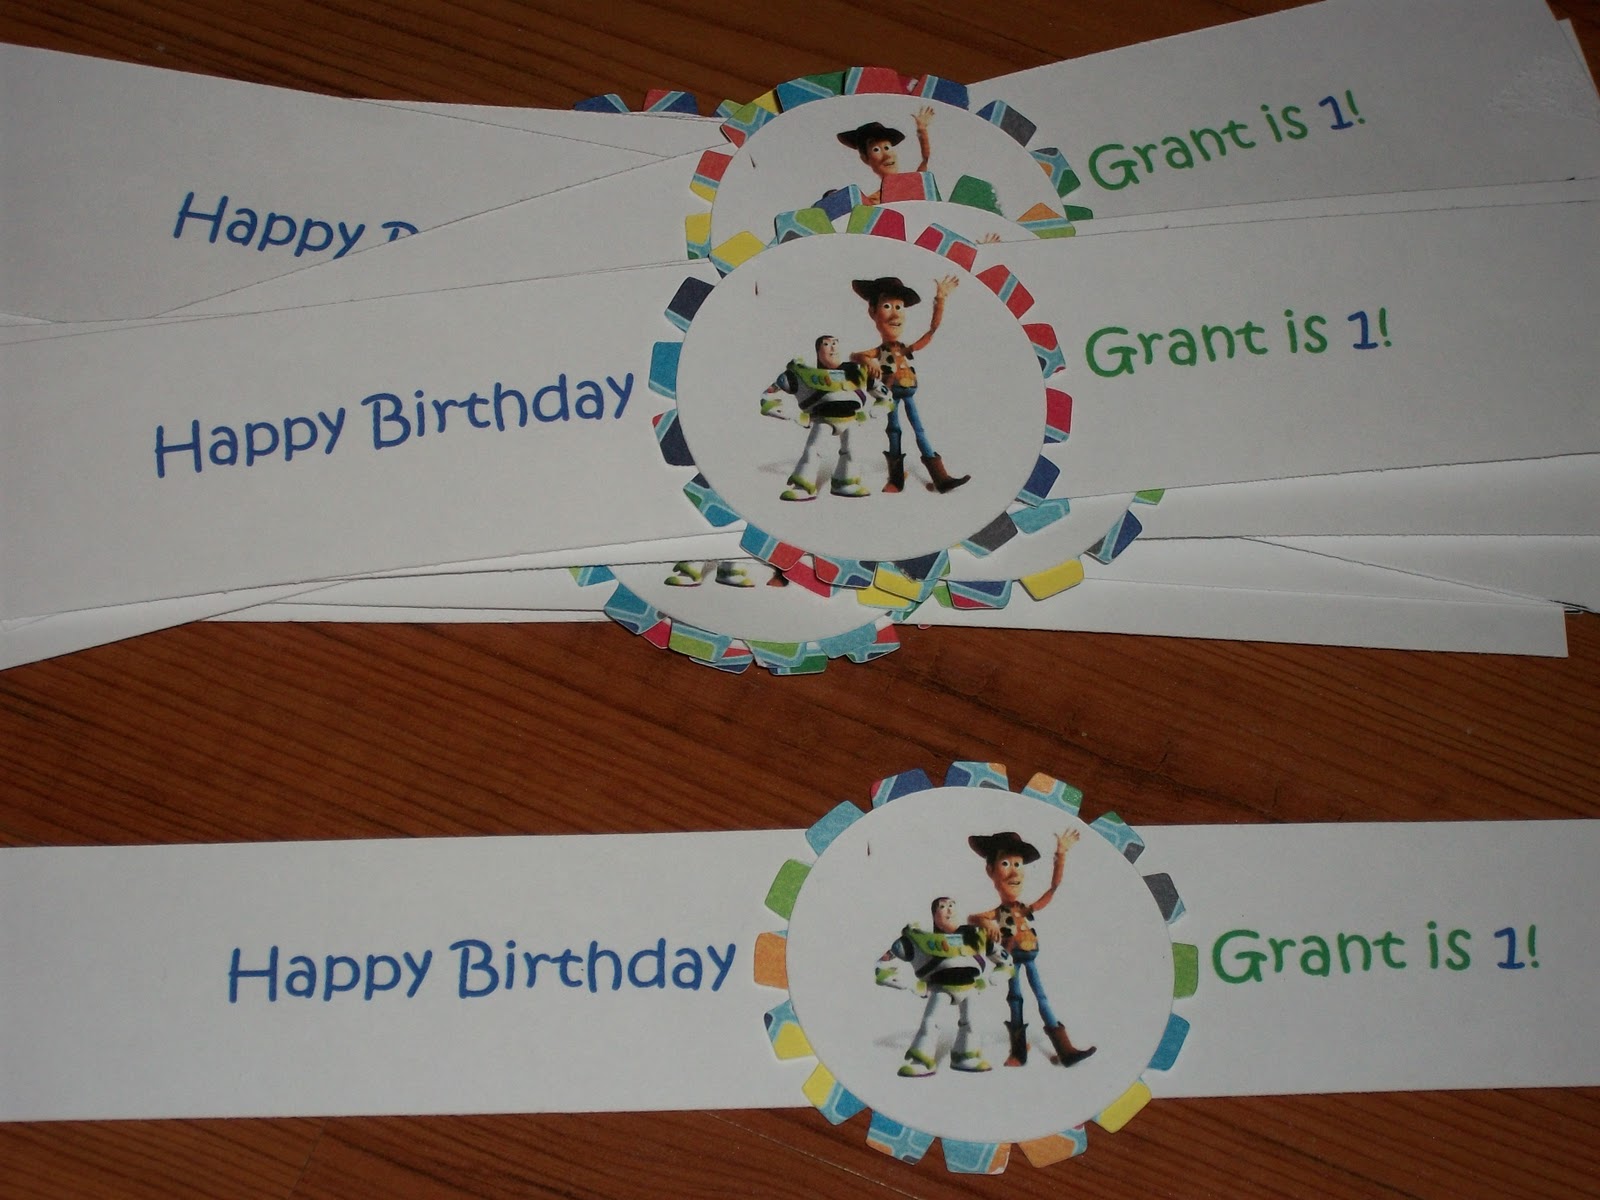
I used the Accent Essentials cartridge and cut the shape on the left, which I used as a background for the Buzz and Woody picture. I cut this shape at 2 inches out of regular scrapbook paper. I used the centerpoint feature on the Cricut and cut 1 3/4 inch circles around each of the pictures, then glued the circle onto the background shape using clear glue I bought at Walmart.

Now just glue the Buzz and Woody shape in between the wording on your label and TADAAA! Your almost finished, but look how cute they are!
Now, technically you could stop right here and just tape or glue these fabulously homemade and personalized labels to your water bottles, or if your like me and have a need to keep little momentos of birthdays (holidays, baby showers, bridal showers, etc etc etc), you can use contact paper to cover them and keep them from ruining or ripping. I read somewhere if you cover them in packing tape they will be waterproof, and all I can say about that is...
Lies! All Lies!
I tried this on my sister's graduation labels because the party was at a park and the bottles were going to be in a cooler of ice, needless to say my beautiful labels that I slaved over for hours ended up completely ruined with bleeding cardstock colors. O well live and learn.
does the contact paper make them water proof for in the cooler?
ReplyDeleteUnfortunately not completely. I have used contact paper as well as packing tape recently and neither were completely waterproof. I usually try keeping the water bottles in the fridge then when I put them in ice for the parties I make sure the ice doesn't cover the labels.
Delete