Wednesday, May 22, 2013

Homemade Shout Stain Remover

I have to admit I am not the mom that spends hours trying to preserve her child's clothes at the end of the day by getting the grass stains out of the knees or the kool-aid stains out of his shirts.  I know I'm a slacker.  No stain remover has ever really worked well for me, there seems to always be a light stain still left after I spray, soak, rub in, spray, soak, wash, spray, soak, wash.

It's like a never ending battle.  Me vs. The Stain.

Somehow no matter how hard I work, I always lose.

So I gave up on even trying for a while and just turned all the really badly stained shirts into sleep shirts.  However the time finally came when he stained one of his good shirts that I really wanted to keep stain free.  Instead of spending a bunch of money on Shout or Resolve or Tide stain remover I decided to give a homemade stain remover a shot.  I've had really good luck with all my other homemade cleaners and detergents so I thought my chances might be good.

I found a recipe here and followed the directions.  I took a white kool-aid stained shirt of Grant's and a white tank top of mine with a stain on it (who knows where that came from).  I sprayed them and let them set for about an hour.  Then I soaked them in cold water for an hour or so.  When I took them out the stains were gone.  I wish I had a before and after pic of the shirts but of course I forgot.

Due the ammonia make sure you do not use bleach and you are in a well ventilated area not breathing in the fumes, because this stuff can be strong if you have a large stained area to spray. 

Monday, May 20, 2013

Toy Story Wall Hangings

I've been really anxious to decorate our new place, you know to make it a little more homey.  The last few places we have lived were very temporary and we never even unpacked everything. How sad is that. 

I wanted to make sure not to do that this time around.  I want to be fully unpacked and the place completely put together.  I knew Grant's room would be fun and of course it's got to be done in Toy Story.  Since his first birthday, which was Toy Story themed, I knew I wanted to make his room with the same theme.  I made multiple Toy Story Cricut character cut outs for his birthday and have saved them all this time with the intention of making them into some kind of wall art.

I had planned on buying some wood plaques from Hobby Lobby and painting them, but with the cost of moving and everything, I just couldn't bring myself to spend what I didn't have to.  I found 4 8x10 canvases I bought ages ago and decided they would work just fine.  So I dug through my acrylic paint and found 4 colors that were perfect blue, red, yellow, and green.  I had Grant help me pick the characters and then just mod podged them onto the painted canvas.


Are they not the cutest!

I love them and so does Grant.  He's constantly pointing at them and showing them to everyone.


I also used some of the other Toy Story items he has to decorate.  My friend gave him 3 Golden Books and 2 character dolls for his 1st birthday, so I took a couple shelves I've had forever and put them on it.

And of course I had to hang his name up. 

In case you are wondering I am fully aware the letters are not even. 

What can I say, I hung them by myself and didn't measure a thing.  Live and learn.

I have 1 more wall to decorate and I have no clue what to put on it, I need a little inspiration, but I love the what I've started.  Not bad for some free decorating.

Thursday, May 16, 2013

Homemade Dusting Spray

We recently moved and our stuff has been in storage for over a year, so naturally alot of our furniture needed polished and cleaned.  We have 2 end tables we use in our living room that my Papaw made years ago.  When we brought them to the new place they looked like some kind of white liquid had been spilled on them and dried to it.  Of course I had no dusting spray or furniture polish to clean them and kept forgetting to pick any up at the store.  I think I was intentionally forgetting because I truely HATE buying cleaning products.  Lets face it they are extremely over priced and none of them work as well as they say they will.

While I was unpacking I found a list of homemade cleaner recipes and in them was one for furniture polish or dusting spray.  I love homemade cleaners for a couple reasons;
1. They are usually cheaper because they are made from ingredients you already have.
2.  Most of them are safe to be around little kids.  While I still keep all my cleaning products, including the homemade ones, out of reach of my little guy it's nice to know they won't harm him.

This cleaner only contained two ingredients, which I had in my cabinet, vinegar and olive oil.  All you use is 1/2 cup vinegar and 1 tsp olive oil.  Mix them together in a spray bottle and spray on your furniture using a clean rag to rub it in.

 
Here is a couple before pictures of my poor little end table.


Here is the after:

 
I am so super excited about how well this worked so I knew I had to share.


Wednesday, May 15, 2013

Strawberry Cupcakes

I made strawberry cupcakes for my nieces birthday and they were adorable.
I searched all over for a good strawberry cake recipe.  I found this one from Martha Stewart and made it for my sister's birthday a couple days before.  I was not satisfied with the flavor because you couldn't taste the strawberry.  I actually had my husband taste it without telling him what flavor it was and he couldn't figure it out.  So when I made them for Sophie's birthday I bought some lorann's strawberry flavoring and used about 1/2 the bottle.  It turned out perfect!  I used store bought cream cheese frosting because I had issues with frosting curdling (stupid Ohio weather), and they were so girly and cute, Sophie loved them.

Monday, May 13, 2013

Minnie Mouse Birthday

As I mentioned before my Neice turned 2 on the 4th and we through her a small birthday dinner, but even with a small dinner a little girl needs some decorations.  Which is where I come in.  I used pink and purple poms for the baby shower I did and just reused them for Sophie's birthday. 

I made a banner with my Cricut and used the Minnie and Daisy Cricut images I made for Grant's Mickey Mouse Clubhouse birthday.  I absolutely love how this banner turned out.  I had debated about making one, not knowing if I wanted to add one more project to my to-do list, but I'm so glad I did.
 
I got to use the cupcake stand I made for the baby shower as well.  I love getting multiple uses out of things.
 
 
Are these not the cutest girly cupcakes (recipe coming later):
 
We didn't do many other decorations but even still it looked too cute all put together, and Sophie loved it all which is the most important thing.


Friday, May 10, 2013

Minnie Mouse Birthday Invitation

My niece turned 2 over the weekend and my mom and I decided to have a birthday dinner for her.  The invites were the easiest ones I've ever made.  I used my Cricut and the Mickey and Friends cartridge.  I cut out a plain Mickey head then a bow, used glue dots to adhere them and printed the party info on white cardstock cutting it out in a circle. 

 
It's simple yet so adorable.

Wednesday, May 8, 2013

About to POP Shower Invitations

In all the pictures I showed in this post about the baby shower, I completely forgot to mention or show the invites.  I made them pretty simple, but I think they were super cute.
 
I cut the circles out with my Cricut of course and stitched them on with my sewing machine.  I did this for 2 reasons.  1- I didn't want to use any more of my glue dots since I was running low. 2-I thought it would add a cute detail.
 
 
Usually when I pick a theme for a party or shower I am overflowed with ideas for invites and just can't decide on one.  However this time every one I saw online was computer generated.  Don't get me wrong they were all cute but just not anything I could duplicate easily.  Hence the simplicity of these invites.

Monday, May 6, 2013

Kids Clothing Week-a little delayed

I had grand plans for kids clothing week and so many ideas of what I wanted to accomplish for my first go around.  I didn't officially sign up for KCW because even though I had grand plans I knew there was alot going on with a baby shower and a Minnie Mouse birthday (more on this later), and of course what we do best-moving. 

I guess I should be proud of the fact that I did get a few things accomplished along with all those other things stealing my attention.  I think I over estimated what I could accomplish with a 2 year old at my feet and not sleeping but with all that being said I do have some things to show off.

I made my neice a couple more pillowcase nightgowns.  My mom requested more for this summer because she loved the one I made here.  She found these striped pillowcases, 2 in a package, for $1 at a discount store, and I got the stretch ribbon at Hobby Lobby @ 50% off for $1.50.  So all in all each nightgown cost a total of $1.25, you can't even go to Wally World and buy a little girls nightgown on clearence for that price.

Of course as usual I didn't get pictures with the kids in their clothes because toddlers in this house don't seem to like my camera very much.  They turn their back to me, run in the opposite direction, and lay face down on the floor when I say "come take a picture for me".

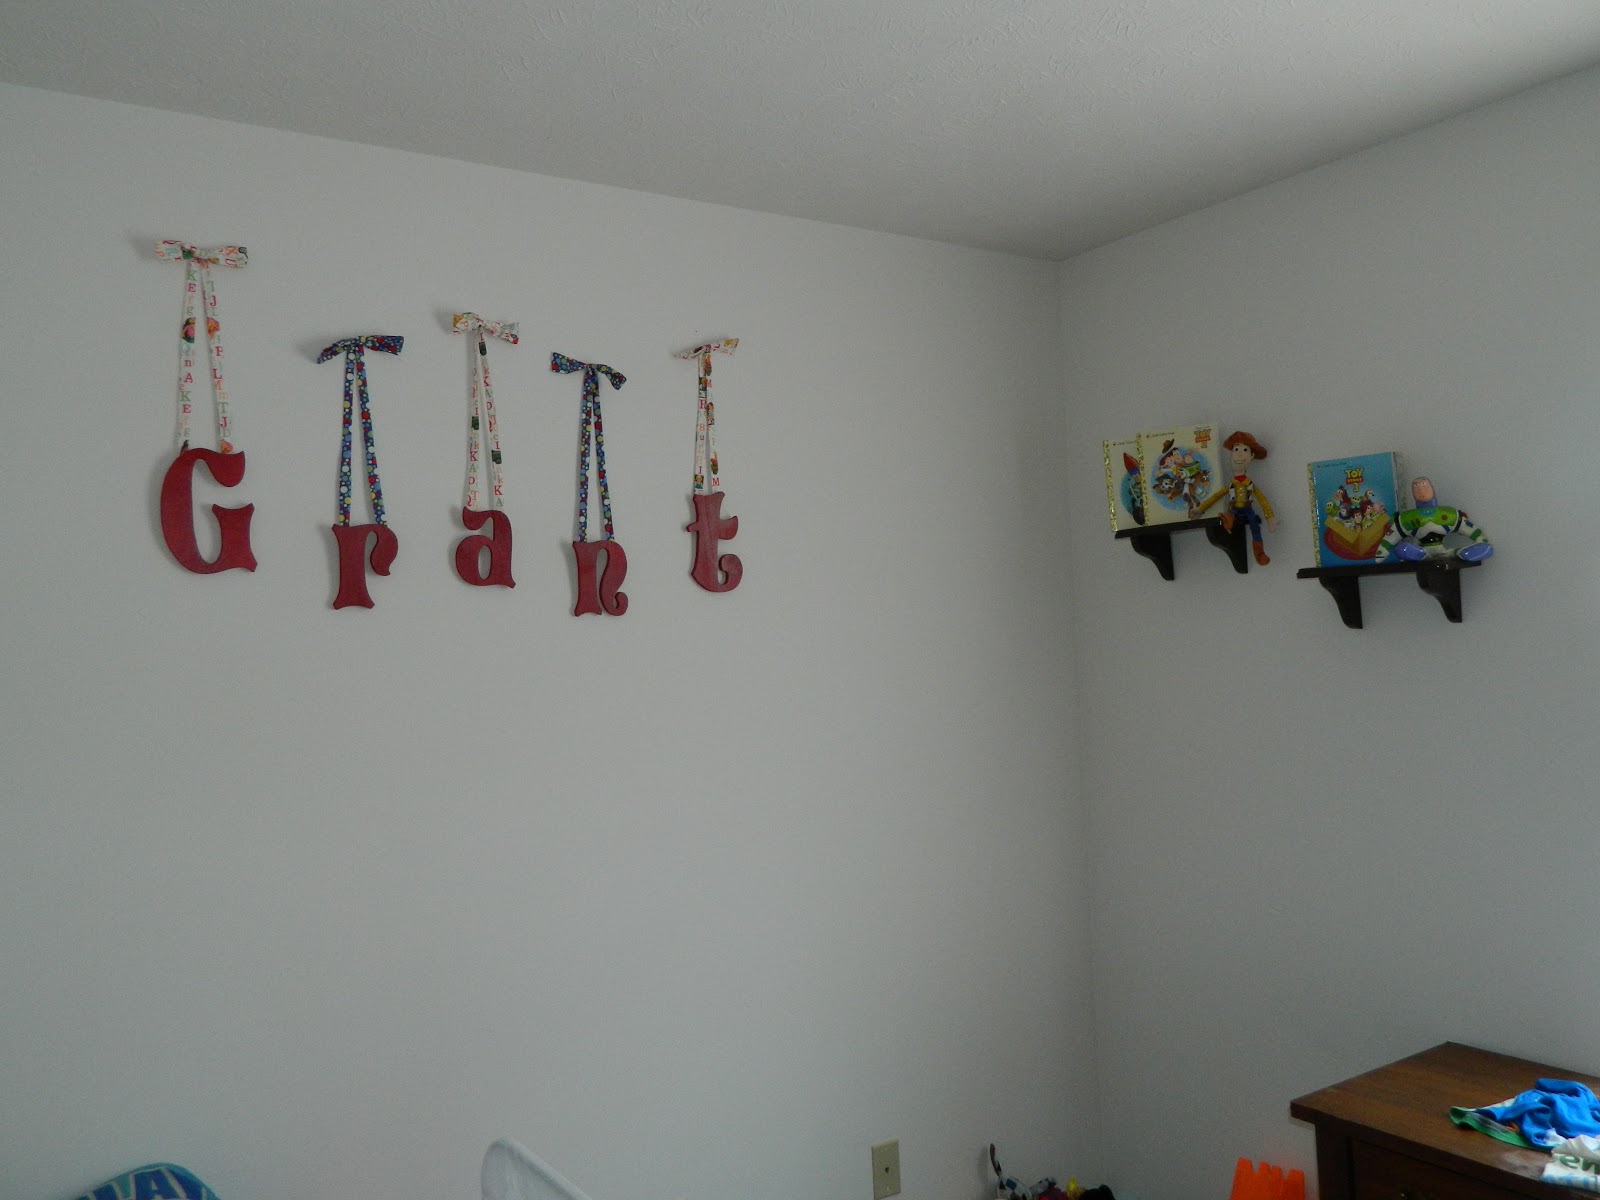
I also made a shirt for Grant.  I bought the Maxwell shirt pattern a couple months ago with KCW in mind.  I have quite a few of derricks old button up shirts I've wanted to repurpose for Grant and decided it was the perfect pattern to attempt it. 
 
My husband's shirt before I started cutting it to pieces:

Maxwell Shirt front:
 
Back:
 

It is so darn cute I can't stand it and I have to say I'm pretty proud even with the mistakes I made in the process of putting it together. 

I'm going to be honest because lets face it we all should be, this shirt has alot of problems.  Not due to the pattern, I absolutely love this pattern and it's super easy to follow so you should definately buy it if you have a cute little boy in your life.  All of my errors were because of myself, ugh, wish I could blame someone else but I can't.

Button holes make me nervous, don't ask why they just do.  So I had the grand idea to avoid having to make so many I would just use the existing button plackart (have no clue if thats how you spell that but you know what I mean).  I just left that pattern piece in the envelope and went on my merry way cutting and sewing.  If I was a better sewer or had done this before maybe it would have turned out better but because I hadn't I had to improvise on more than one occasion.

I feel it's necessary to purge these imperfections to all of you so here they are:
 
Top of the button plackard

 
The inside collar
 
Inside button plackard

I'm gonna say these blemishes give this shirt a little character, and take this as a learning experience rather than being uptight about it (which I usually would be).  Normally when I sew clothes (or anything for that matter) and the above happens I start to get flustered and say many choice words (not outloud of course) to my sewing machine, the pattern, my scissors, or anything else I can blame for my lack of perfection.  But not this time.  I took it and ran with it making the best of the situation.

Aww, I'm growing up becoming a big girl.

I have intentions of making a few more of these shirts and next time I'll make it and face my button hole fears and hopefully show off a shirt with a few less imperfections.  There's no point in hoping for perfection, it's just not gonna happen.

Wednesday, May 1, 2013

Coasters For the New Place

We are moving in about a week and I'm finally motivated to start making stuff for it.  I've had fabric for months with the intention of finishing various projects to decorate the place.

I finished the easiest of them the other day, coasters, for the living room.  Our living room set is a navy blue, so I bought a navy polka dot I wanted to use but really wanted to have a matching fabric on the back.  The only problem was, I had no matching fabric in my stash. 

While cutting out a pair of shorts for my little guy from one of my husbands old shirts I realized I had enough extras to back all of my coasters.

Here's what was left after cutting out the shorts:
 
I ended up using both the sleeves and the left side of the shirt which made 6 coasters.
 
 
I used leftover quilt batting for the centers and quilted them just like I did the mug rugs I made as Christmas gifts this past year.
 
 
If you look closely I used the cuffs of the sleeves and didn't even worry about the seems.
 
I think they are gonna work great and most importantly they are soft and unbreakable, so when little man has a tantrum and inevitably throws something, he can't break them or anything else with them.


LinkWithin

Related Posts Plugin for WordPress, Blogger...

Total Pageviews