My brother's girlfriend's 5 year old son is having open heart surgery in December and I decided I wanted to make him something to occupy his time in the hospital, So over the next couple days I will post what I came up with for him.
I have seen homemade tic-tac-toe boards before and always thought they were cute, but since my little one is way too young I've never had a reason to make one, until now. I'm sure there are a million ways you could do this but here is how I made mine....
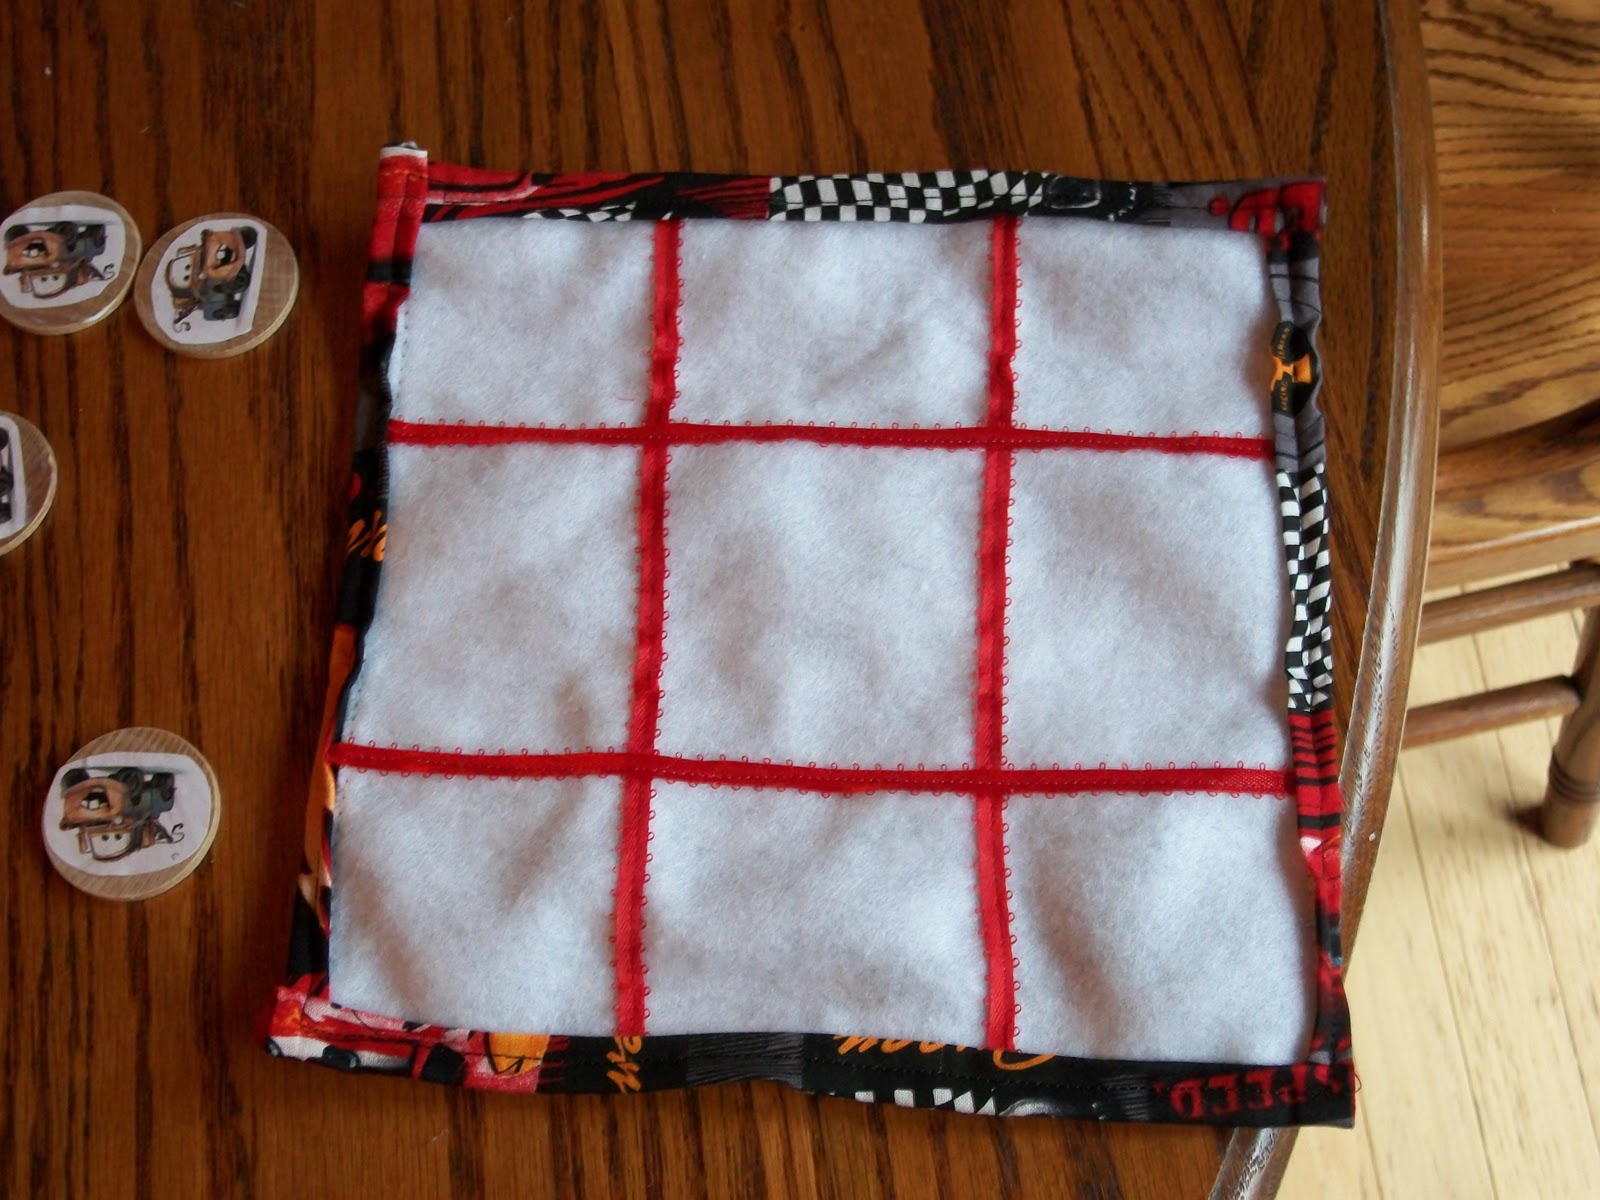
First I took a sheet of white felt and cut out a square, you could make this square as big or small as you like depending on your needs. I then sewed a piece of black fabric to the back to give it a little more thickness and trimmed my edges.

To make the lines on my board I used regular old ribbon. This is the ribbon you can get at walmart for all of 97 cents. To figure out the placement of my lines I took the width of my square and divided it my 3, since I needed 3 columns. When I did this the number I got was about 2.5, so I measured over 2.5 inches from each of the sides and that's where my ribbon was placed. My one majore piece of advice....used lots and lots of pins to make sure your ribbon stays in place.

Sew directly on top of the ribbon, then turn your square and place and sew your other 2 pieces of ribbon using the same technique. This is what you should end up with so far:

Lay your felt game board down on the fabric that will be your backing. Cut this piece about 1/2 inch from all sides to allow enough room for turning your edges. Do not sew your game board to your backing yet!
Now I have no pictures of the next step because little man decided to wake up and I had to move quickly, which meant no time for pictures. To hold your game pieces you will need a pocket. I made mine about 3 inches high and 5 inches long. I turned all sides in approximately 1/4 inch and ironed them down. After ironing sew all the way around.
Next cut a piece of velcro and sew one piece in the middle of your pocket and the other piece on the fabric that will be your backing. To figure out placement just place your pocket where you would want it to be on your backing and place your opposing velcro accordingly. Stick your sewn on velcro pieces together to make sure you sew your pocket in exactly the right place. Pin pocket on 3 sides and sew around leaving the top open.

Now place your game board on top of the fabric that will be your backing, wrong sides together. Turn your edges all the way around and pin. Sew all four sides, and your game board should now look like this..
Here is the back side, with the pocket.

You could make your game pieces out of whatever suits your fancy. I already had these round wood pieces. I found images of 2 Cars characters, copied and pasted them into a word document, resized them so they would fit on my wood circles, printed and cut them out.
I used mod podge to adhere the images onto the wood circles. Had I had enough time I would have painted the wood circles to match the whole set, however that was not the case so here is what mine looked like

Make sure your pieces are dry, put them all in the game board pocket, and your ready to play some tic-tac-toe!
No comments:
Post a Comment